· 5 min read

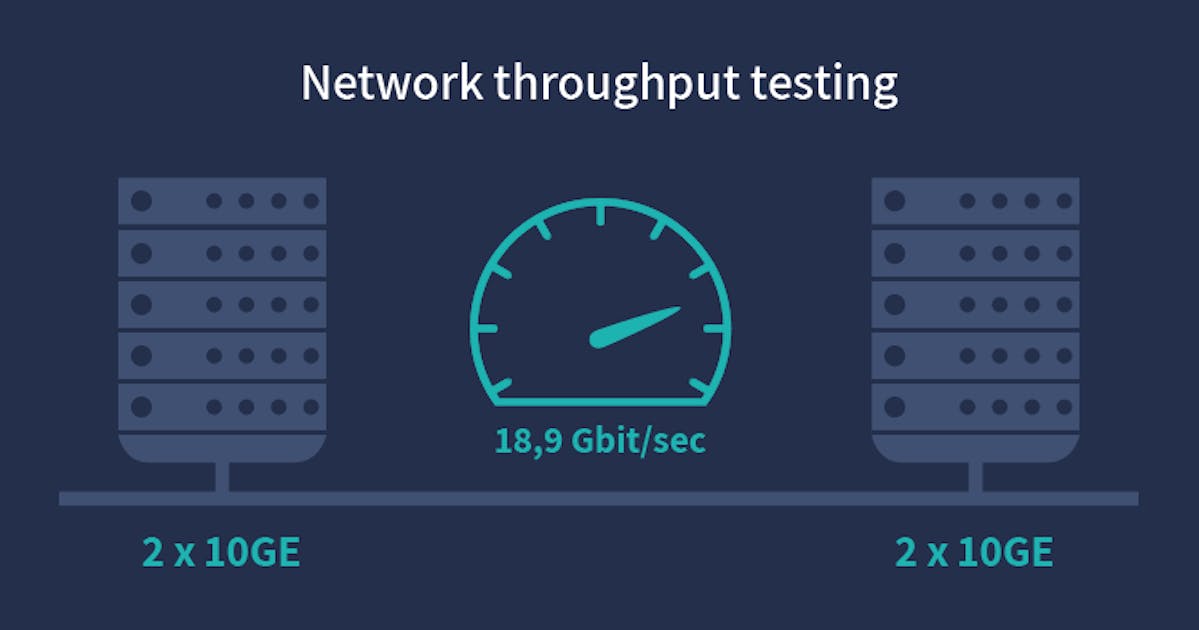
When selecting a dedicated server provider for your business, one of the key components of the service price is the network bandwidth capacity available with the server plan. It is therefore important to be able to perform a reliable network bandwidth test to determine if you’re getting what you paid for.
To perform such a test with regards to your home bandwidth connection is easily done with many popular third-party tools. They are usually hosted on a domain with a user-friendly web interface, however, using the same speed test service for determining the network throughput of your server is a bad idea. It will always show you unreliable results.
Firstly, the speed test providers run tests between your server and the web servers on their side. Therefore you should check what uplink ports their end servers have. The majority of today’s speedtest servers run on a 1Gbps uplink, so it’s physically impossible to measure higher throughput than the uplink capacity.
Secondly, if you’re downloading a test file placed on your server from your home device, you are always limited by the network speed of your home connection (the speed you subscribed for with your local ISP). Given the average internet connection speed in the US is around 19 Mbps, you’ll never be able to test a server with 10Gbps unmetered bandwidth efficiently.
Other forms of connection testing such as the wget command also present limitations (single concurrent connections) which render the method ineffective for testing network throughput in high-bandwidth network environments.
With regards, to the misconceptions regarding the speedtest methods mentioned above, we have decided to write a tutorial on how to perform a network test connection between two servers. This can be a connection between multiple data centers or within the same one. To run a reliable test on 10Gbps uplink servers, you need to run multiple simultaneous test connections.
To test network bandwidth, we always recommend a popular network tool called Iperf3. The Iperf3 tutorial will cover installation commands for Linux OS and CentOS.
Iperf is a point-to-point network tool for active measurements of throughput between two servers in both directions. The tool can effectively measure the maximum server bandwidth of your uplink. Iperf measures both TCP and UDP bandwidth performance.
You need at least two servers to run an Iperf3 test – a source and a destination server.
Linux OS:
Use the command:
apt-get install iperf3Cent OS:
Use the command:
yum install iperf3
The big advantage and main reason why we use Iperf is, that it is capable of running multiple test connections between two servers simultaneously. This is crucial for testing connections of 10Gbps or higher (opposed to a wget command to download a test file that only holds one connection unable to utilize all of the server resources – usually 1Gbps maximum).
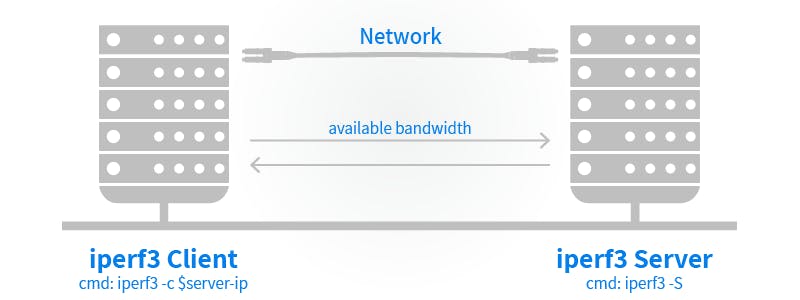
Using Iperf you can test the bandwidth speed from the origin server (iperf client-server) to a destination server (iperf listening server). Both need to have sufficient bandwidth to perform the tests you are after (If you’re performing a 10Gbps speed test, both servers need a 10GE uplink, the listening server should Ideally have a higher bandwidth capacity than the client server – 20Gbps.).
Using Iperf commands on the client-server (in this case your server), you will run a benchmark test and show the throughput data of all test connections.
If you don’t have an IP address of a suitable Iperf listening server, please contact our support and we will provide you with one.
If you have multiple servers with your dedicated server provider, you can run an Iperf test between them.
If you’re using your own servers for both the client-server and listening server side. Activate the listening server mode using the command
iperf3 -sServer listening on 5201You’ll see that the server mode is activated and what port it is listening on.
Here is a command for running an Iperf test on your client server. The only other data you need is the IP address of the Iperf listening server. We recommend running more parallel streams (TCP/UDP), as one stream will be hashed to one physical uplink interface of our access switch. Use parameter -P X, where X represents the count of parallel flows.
Command:
iperf3 -P 20 -c $server_ipThis test will run 20 simultaneous connections against the Iperf listening server ($server_ip).
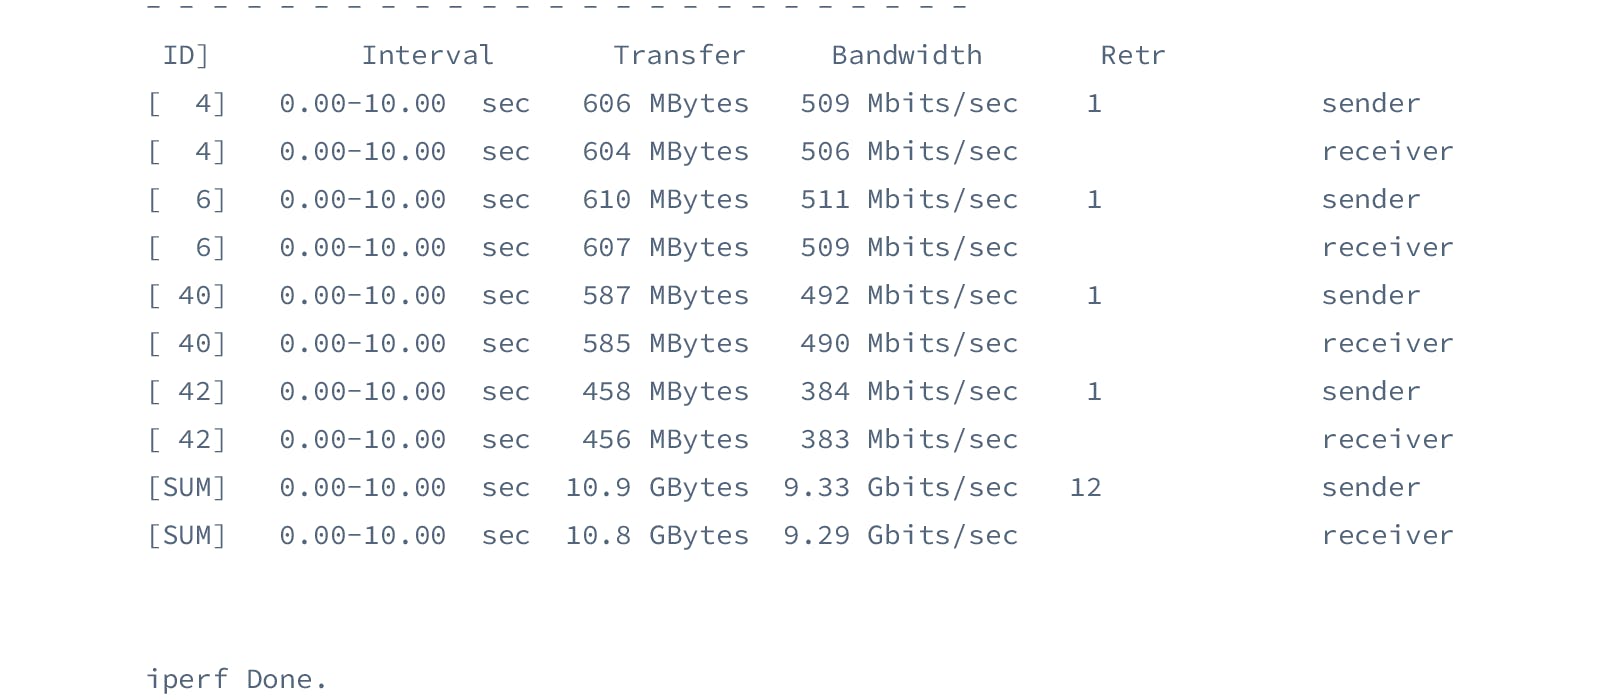
Test results (Client side):

These results only show the first and last four lines of the test result as showing the whole result would take up too much space and wouldn’t provide any additional clarification. The columns from the above output display:
Each line gives the sender and receiver results for every stream. The most important results to look at are the last two [SUM] lines. They show the average result of the network bandwidth test. In this case, each stream used up approximately 460 Mbps. Total network bandwidth reaching 9.33 Gbits/sec. The client-server has a 10Gbps uplink, the listening server a bonded 20Gbps uplink.
This tutorial focused solely on the use of Iperf for testing the network throughput between two servers. The tool, of course, allows many other configurations and application via a range of other Iperf commands.
If you are a customer of DataPacket and would like any additional help with the setup, do not hesitate to contact DataPacket support.
Founded in 2014, DataPacket is a dedicated server provider operating a global low-latency network. With a footprint of 64 locations across 6 continents, DataPacket helps businesses–including gaming and video streaming companies–to deliver great online experiences.